
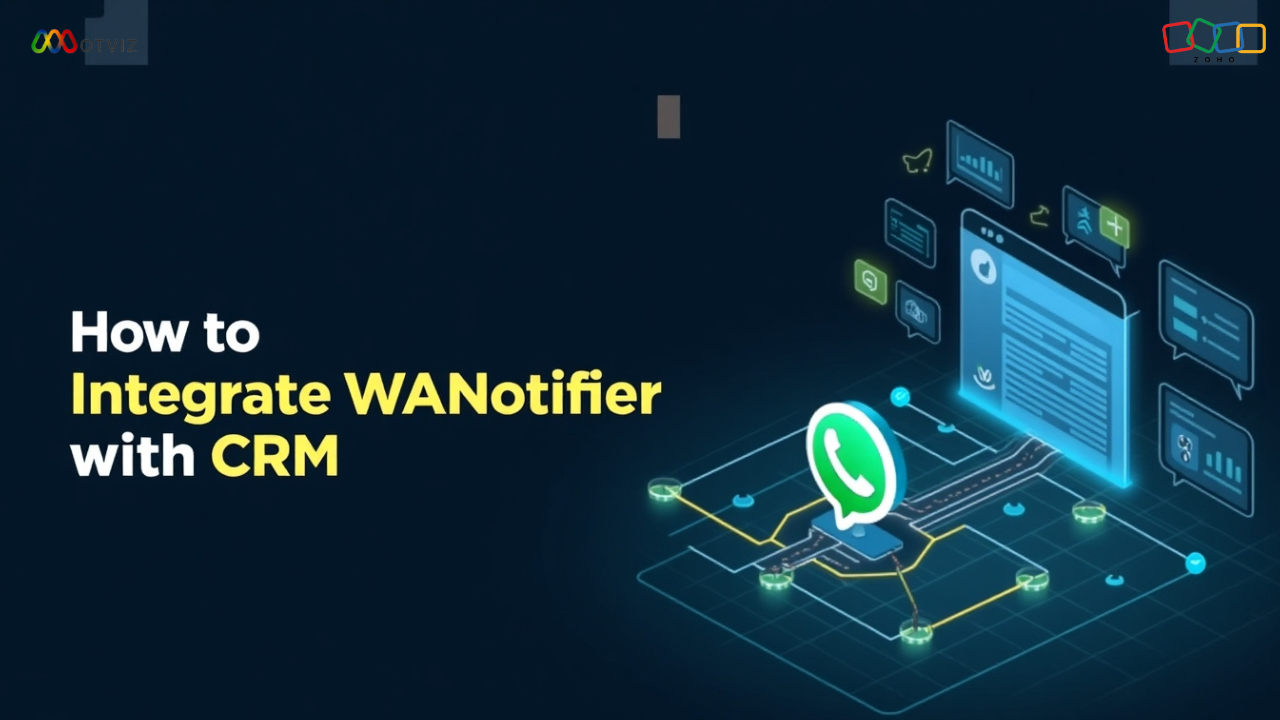
How to Integrate WANotifier with CRM
Integrating WANotifier with your CRM can help streamline communication and ensure that your contacts are properly managed. Here’s a step-by-step guide to achieve this integration.
Step 1: Gather Credentials
Before starting the integration process, you need to have the following credentials:
- WANotifier Credentials: Username and password.
- CRM Credentials: Username and password.
Step 2: Login to Your CRM Account
- Login to Your CRM Account: Use your CRM credentials to log in.
- Create a Webhook: Navigate to the module for which you want to create a webhook (e.g., Contacts).
– Go to the settings of that CRM.
– Find the option to create a webhook.
– Specify the URL path where you want the data to be sent.
Step 3: Setup Webhook in CRM
- Setup the Webhook URL: Enter the URL path where WANotifier will receive the data.
- Specify Events: Choose the events that will trigger the webhook (e.g., when a new contact is created or updated).
- Save the Webhook: Ensure that the webhook is active and properly set up.
Step 4: Receive Data from Webhook
- Create a Server Endpoint: Setup a server endpoint to receive the data from the CRM webhook.
– This can be done using various server-side technologies like Node.js, Python, or PHP.
– Make sure your endpoint can parse and handle the incoming JSON data.
Step 5: Login to WANotifier
- Login to WANotifier: Use your WANotifier credentials to log in.
- Navigate to Contacts Module: Go to the Contacts module in WANotifier.
- Import/Export Option: Look for the Import/Export option within the Contacts module.
Step 6: Get API Details for Import
- Find Import API: Within the Import/Export section, find the API for importing contacts.
- Copy the Webhook URL and API Key: You will need these to send data to WANotifier.
Step 7: Format Data for WANotifier
- Format JSON Data: Make sure the data from the CRM is formatted correctly for WANotifier. An example JSON format is as follows:
“`json
{
“whatsapp_number”: “+919876543210”,
“first_name”: “John”,
“last_name”: “Doe”,
“attributes”: {
“custom_attribute_1”: “Value 1”,
“custom_attribute_2”: “Value 2”,
“custom_attribute_3”: “Value 3”
},
“lists”: [
“Default”
],
“tags”: [
“new lead”,
“notification sent”
],
“status”: “subscribed”,
“replace”: false
}
“`
Step 8: Implement Data Transfer
- Retrieve Data from CRM: Using your server endpoint, retrieve the data sent from the CRM webhook.
- Format Data for WANotifier: Convert the CRM data to the required WANotifier format.
- Send Data to WANotifier: Use the WANotifier import API to send the formatted data.
import requests
url = “https://api.wanotifier.com/v1/contacts/import”
headers = {
“Content-Type”: “application/json”,
“Authorization”: “Bearer YOUR_API_KEY”
}
data = {
“whatsapp_number”: “+919876543210”,
“first_name”: “John”,
“last_name”: “Doe”,
“attributes”: {
“custom_attribute_1”: “Value 1”,
“custom_attribute_2”: “Value 2”,
“custom_attribute_3”: “Value 3”
},
“lists”: [“Default”],
“tags”: [“new lead”, “notification sent”],
“status”: “subscribed”,
“replace”: False
}
response = requests.post(url, headers=headers, json=data)
print(response.json())
Step 9: Test the Integration
- Create a Test Contact in CRM: Add a new contact in your CRM to trigger the webhook.
- Check WANotifier: Verify if the new contact appears in WANotifier with the correct details.